Table of Contents
When you were a child, you once visited this farm when it was still well-maintained.
After your grandfather passed away, this large piece of land was left abandoned and was eventually inherited by you to restore it to its former glory.
Most of the farm consists of a 25 × 43 tile field that can be used to grow crops and grass for livestock feed.
The field is currently covered with rocks, weeds, and tree stumps. Your task is to clear the field using the Hammer and Axe. Some large rocks and tree stumps can only be destroyed with upgraded tools.
In addition to the field and livestock grazing area, the farm also has a pond that provides water for the Watering Can. You can also release fish you catch into the pond.
Preparing for Farming
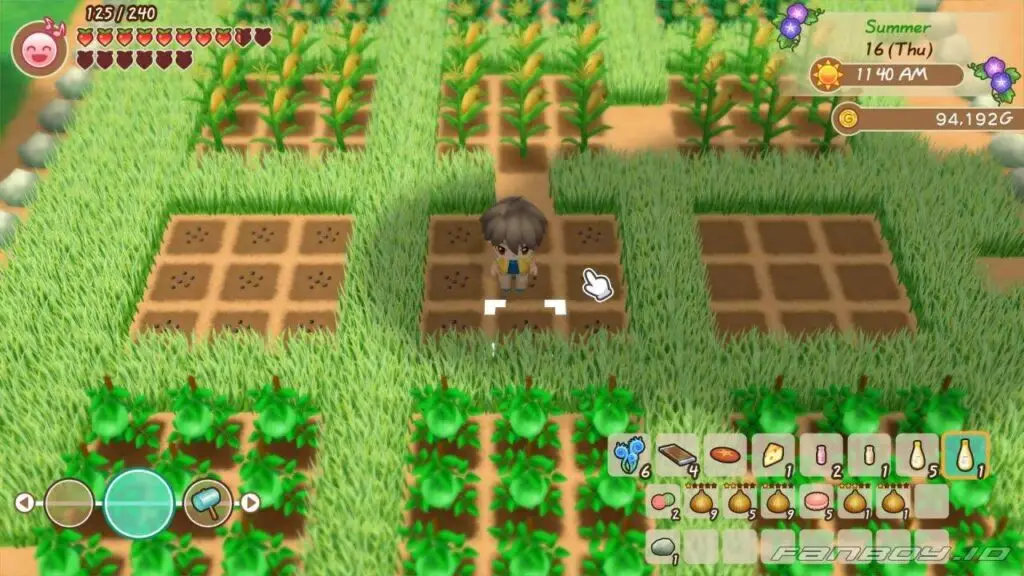
Seeds can be planted after you till the soil with the Hoe. Each type of seed can only be planted during its corresponding season.
Seeds cannot be planted before their growing season begins. For example, Autumn seeds cannot be planted on the 30th of Summer.
In addition, all seasonal crops and plants will wither on the first day of the following season. No crops can grow during Winter, making it a good time to upgrade all of your tools.
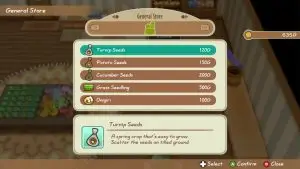
The General Store and Huang’s Store sell various types of crop seeds. Each seed bag can be planted across a 3 × 3 tile area. The seeds sold by these stores do not have a Star Rank.
The General Store only sells seeds for the current season, while Huang sells seeds for any season. Unused seed bags can be stored in the Tool Box.

Once you have seeds, the next step is to prepare the empty field. Use the Hoe to till the soil. While tilling, you have a chance to find a Power Berry or a 1 G coin.
Moles will not damage your crops and will only appear briefly after being dug up. If you react quickly, you can switch from the Hoe to the Hammer and hit the mole on the head before it burrows back underground.
The number of moles you hit is recorded in the bookshelf. Every 100 moles hit awards +1 Farm Degree Point, up to a maximum of 100 points.

After preparing the soil and planting your seeds, the next step is to water the crops using the Watering Can.
Crops only need to be watered once a day. Watering them more than once will not speed up their growth.
Crops do not need to be watered when it rains.
After several days, the crops will grow and produce harvestable crops. Some types of crops can only be harvested once, while others can be harvested repeatedly.
For complete details, see our guide to Crops.
Crop Star Rank
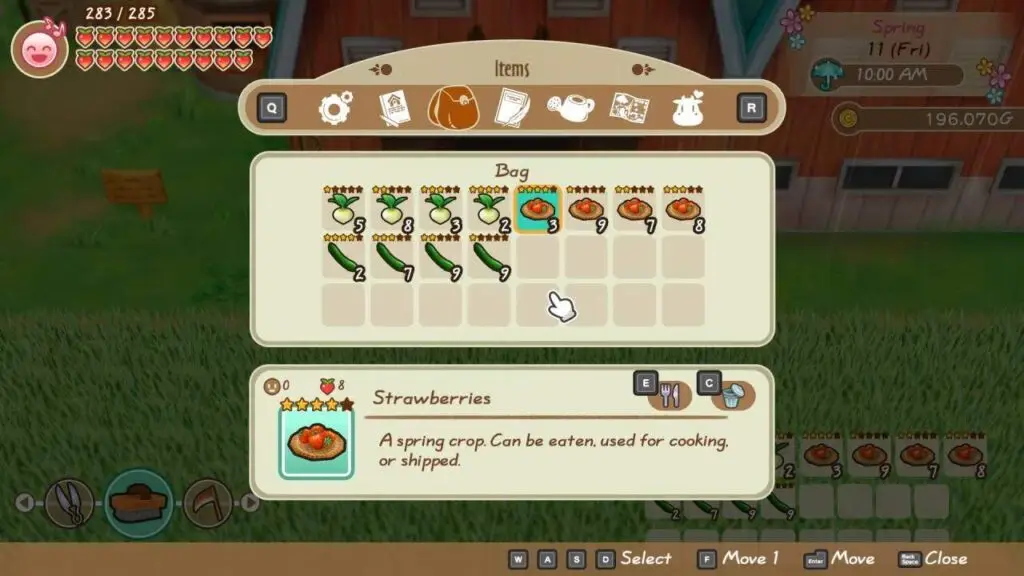
The crops you grow have a Star Rank that affects their selling price. The higher the Star Rank, the higher the selling price. Flower crops, however, do not have a Star Rank.
The Star Rank of harvested crops is determined by the Field Level. Each time you harvest, the crop’s quality is randomly determined based on the current Field Level.
Starting in Year 2, Gotts will offer Field Level upgrades at his Workshop. Each year, you can upgrade the Field Level by paying a certain amount of money.
| Level | Available | Cost |
|---|---|---|
| Field Level 2 | Year 2 or later | 20.000 G |
| Field Level 3 | Year 3 or later | 50.000 G |
| Field Level 4 | Year 4 or later | 100.000 G |
| Field Level 5 | Year 5 or later | 300.000 G |
The higher the Field Level, the greater the chance of obtaining crops with a higher Star Rank.
The field inherited from your grandfather is currently at Level 1 and mostly produces 1-star crops, but there is still a chance of obtaining 2-star crops.
After upgrading to Field Level 2, the field can still produce 1-star and 2-star crops, but now has a chance of producing 3-star crops.
At Field Level 4, the field can start producing 5-star crops. Meanwhile, upgrading the Field to Level 5 does not unlock a new Star Rank, but increases the chance of obtaining 5-star crops.
Fodder Grass

The farm has a grass field in the lower-left corner. The grass can be harvested with the Sickle to produce Fodder Grass for livestock.
For poultry feed, you can use Chicken Feed, which can be made by placing corn in the water wheel or the feed storage container next to the Coop.

You can buy Grass Seeds from the General Store for 500 G. Simply plant one bag and wait a few days.
The grass you plant will spread on its own to empty tiles without wood, rocks, or weeds. Each morning, there is a 25% chance for grass to spread to one empty tile nearby.
Wood can be used to control grass growth by limiting the area where it can spread.
Grass only spreads to empty tiles, so fences can prevent it from spreading into certain areas. Small rocks can also be used for the same purpose.
To speed up grass growth, buy several bags and plant them one at a time in different areas, making sure they are not too close together.
Grass grows during Spring, Summer, and Autumn. When Winter arrives, the grass goes dormant and cannot be harvested.
Livestock can still be let outside during Winter, but they will not find any grass to eat.
When Spring arrives, there is approximately a 70% chance that dormant grass will grow again.
Therefore, even if you want to harvest all of your grass before Winter, it is best to leave some of it in the grass field for the following Spring.
When harvesting grass, you also have a chance of obtaining colored weeds that can be sold. The type of weed that appears depends on the current season.
- Spring: Blue Grass, Orange Grass, Yellow Grass
- Summer: Blue Grass, Green Grass, Purple Grass, Red Grass
- Autumn: Green Grass, Indigo Grass, Red Grass
How to Keep Crops Growing Into the Next Season
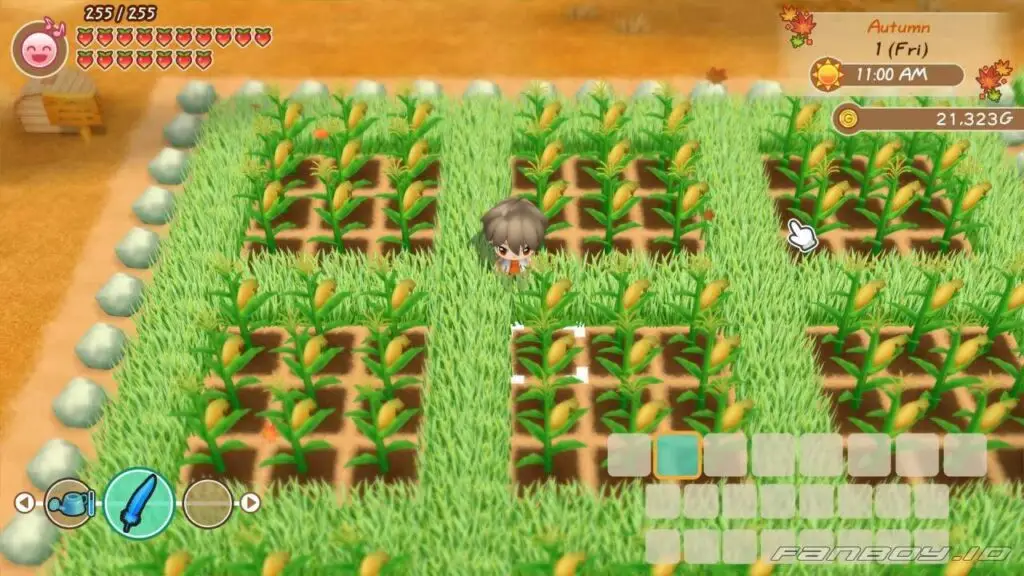
You can take advantage of a game mechanic to keep crops growing into the following season. This trick allows single-harvest crops to be harvested before they wither.
Meanwhile, repeat-harvest crops will continue growing and producing fruit throughout the season.
On the 30th day of the current growing season, do not harvest your crops yet. Leave them in the field as usual.
Before going to bed, deplete your Stamina until it reaches 0, then increase your FAT to around 95–99.
The face icon will turn blue when FAT reaches around 80. Using a tool after STA has been depleted adds +1 FAT before midnight or +2 FAT after midnight.
In addition, Fatigue automatically increases by +3 FAT at 12:00 AM and +4 FAT between 2:00 AM and 4:00 AM.
For more detailed information about STA and FAT, see our Stamina and Fatigue guide.
Make sure you stay awake until the game forces you to sleep at 5:59 AM. If you already have the mysterious book from the Harvest Goddess, use it to pass the time until the season changes.
If you do not have it yet, simply wait outside until 5:59 AM.
When the game forces you to sleep, your FAT will decrease by 5, but you will immediately receive a +10 FAT penalty for intentionally staying awake.
The goal is to make sure your FAT reaches 100 after both processes, causing your character to pass out.
For example, if you have 93 FAT at 5:59 AM, it will decrease to 88 FAT (93 – 5), then increase to 98 FAT.
This is not enough to make you pass out. Therefore, your FAT must be between 95 and 99 before the game forces you to sleep.
When you wake up at 6:00 AM on the 1st with 100 FAT, a fatigue event will occur, causing you to spend the entire day at the Clinic.
You will return home on the 2nd with full Stamina and your FAT reset.
Because the Clinic visit occurs before crops wither on the first day of the new season, crops from the previous season will remain growing in the field.